After the extension is installed and you are signed in, choose the repository folder that should receive packet files and local SwarmCraft workflow updates.
Connection flow
- Sign in through the SwarmCraft extension and complete MFA.
- Choose the repository folder that owns the project source code.
- Let the extension create and watch the packet files under
.swarmcraft/projects/.
Choose the right workspace folder
Use SwarmCraft: Choose Repo and select the workspace folder that owns the project you want to build.
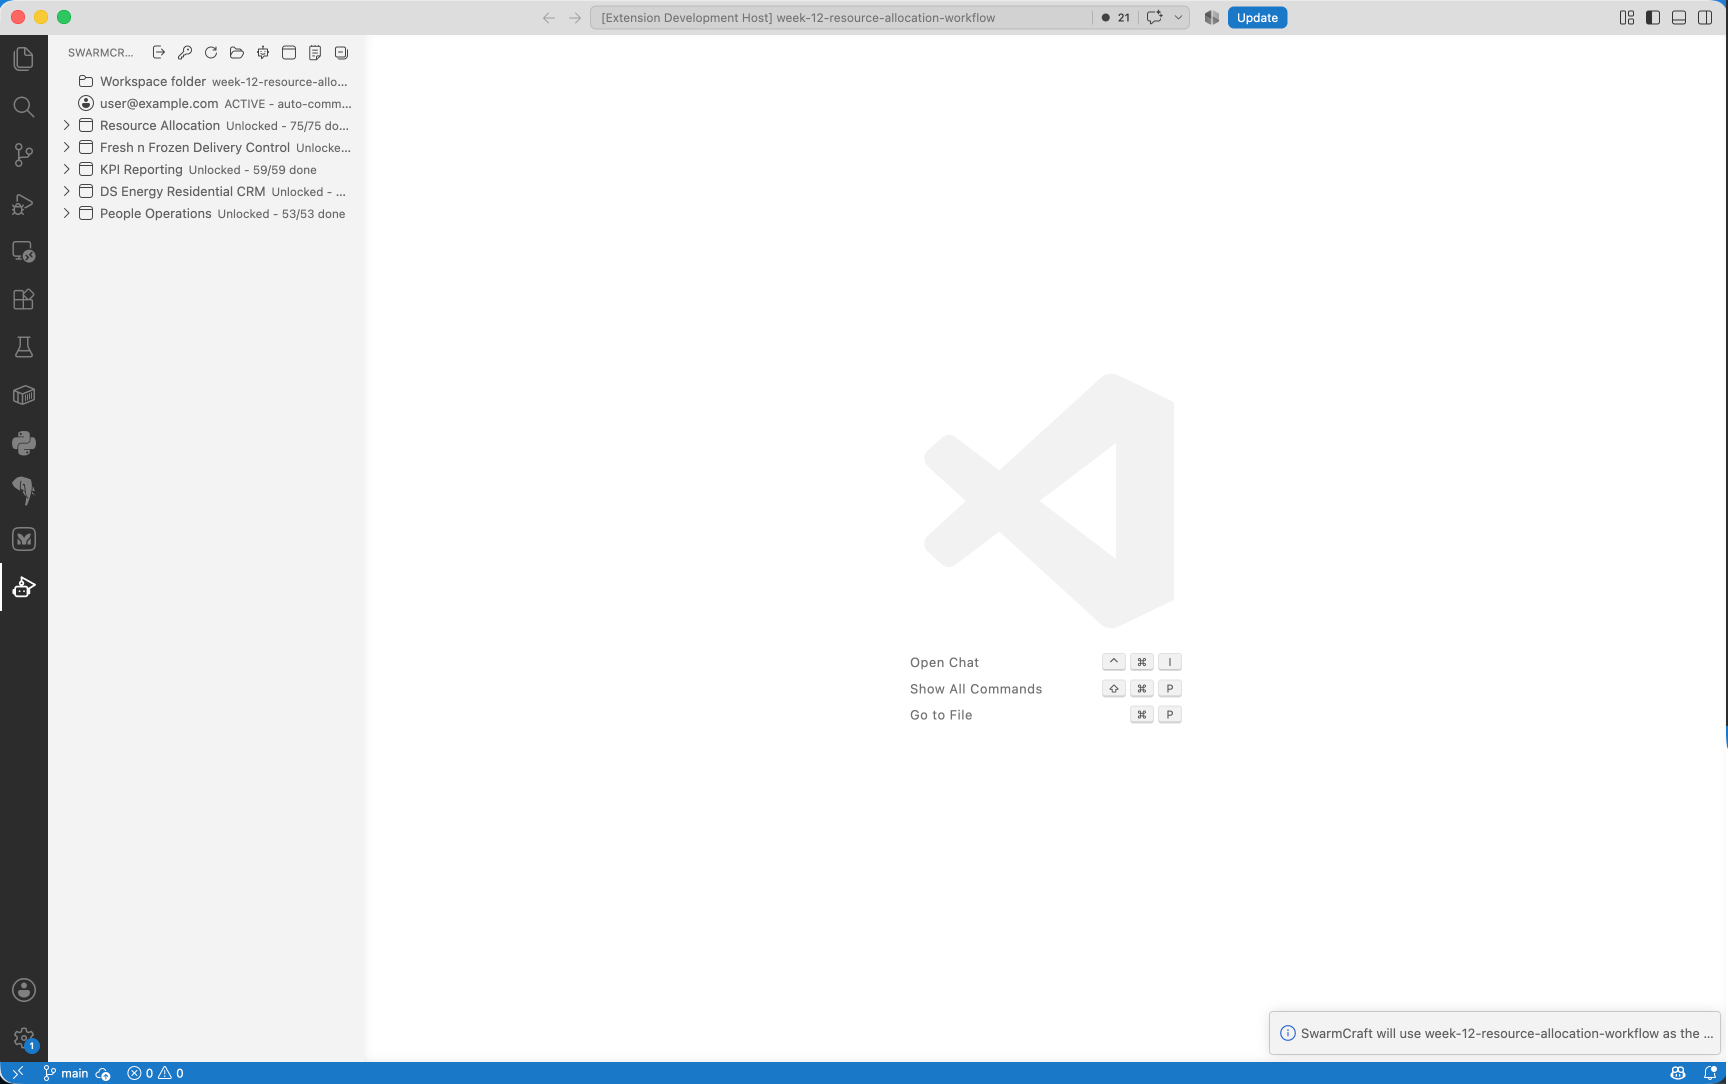
This matters most in multi-root workspaces, where several repositories can be open at once.
What the extension creates
SwarmCraft stores packet files under .swarmcraft/projects/ in the selected repository. Those files carry the task goal, staged checklist work, notes, and agent updates used during delivery.
What stays synced
The extension watches the packet files inside the selected workspace folder and syncs supported changes back into SwarmCraft. That gives the web board and the local repository a shared workflow state.
Before you move on
Confirm that:
- you can see the SwarmCraft view in VS Code
- the correct workspace folder is selected
- the extension can open board routes in the browser
This guide is for connecting an existing unlocked project to its delivery repository. Deep Discovery starts earlier through its own workspace binding; use Start and resume Deep Discovery for that projectless setup.
Once the delivery project is connected, continue with Use the project board.
If you want SwarmCraft to prepare packets and run a whole board from the terminal, use the CLI install guide after the repository is connected.
Return to How SwarmCraft works whenever you need to place repository setup in the complete discovery-to-ownership journey.